
Operation Basement Studio, Part One: The Hobo Room


Most artists know that inspiration requires visualization, preparation, and finally, perspiration. The muse can strike at any time, but if your tools are not readily accessible, the idea may bolt before taking form. And if there isn't even a space in which to keep your tools, much less use them? Well, that's a problem. So, this winter our top priority is the building of a basement recording studio.
First we needed to clear enough stuff out of our basement to be able to hear ourselves think. That's why we built a shed this summer. It really helped us get a bunch of stuff out of the basement. Then we had to designate a storage space that would eventually hold everything not studio-related. Our basement already had a corner serving this purpose; it was piled to the ceiling in appalling disarray. Our friend Kevin had christened it The Hobo Room, and the name stuck. We emptied it out and began formulating an approach to making it a finished space.
Last year, the people at Sound Seismic retrofitted our entire basement. This practice protects homes from the major threat in the NW – earthquakes. Not only did they install plywood shear walls throughout, but also placed hefty steel plates to hold the house more firmly to its foundation. This was our starting point.
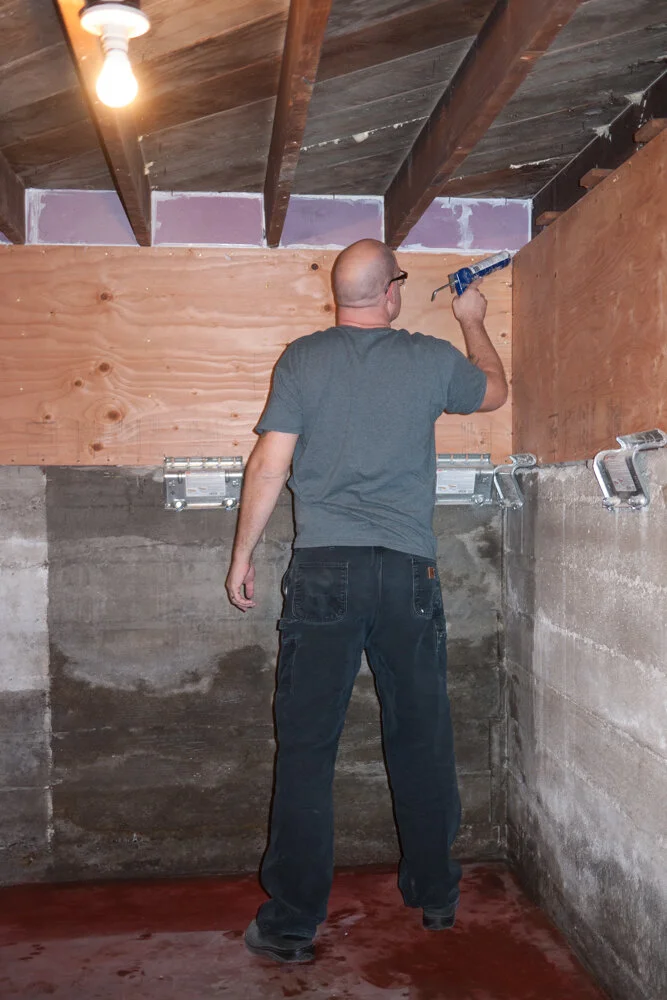
Not many Seattle basements are dry as a bone. Many have full-on leaks during the wet season. Fortunately, ours stays pretty dry, although we could detect efflorescence and water marks from some point in the past. Better safe than sorry, so John decided on an approach that involved chemically etching the wall, patching any cracks with hydraulic cement, and painting it with two coats of Drylok.
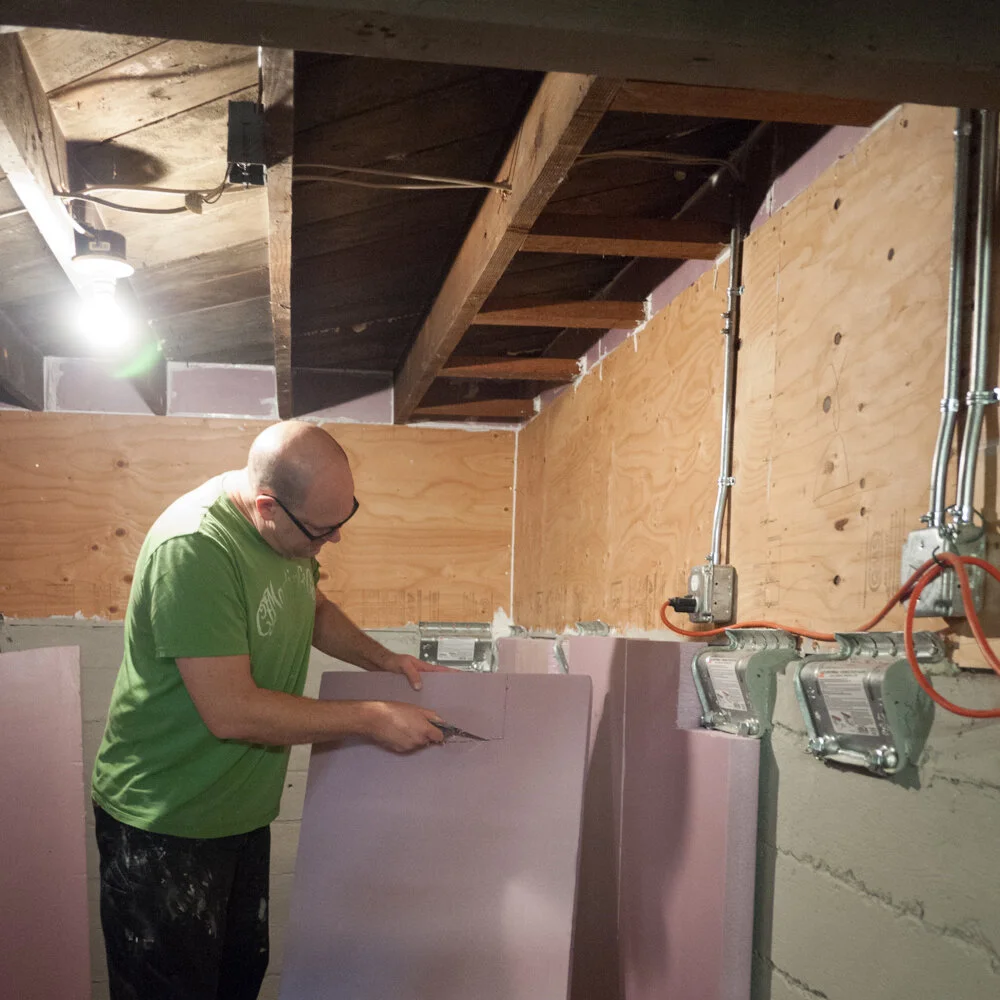
Next, John installed pink, rigid foam insulation against the concrete. This helps equalize the temperature between inside and outside, because who wants a sweating wall in the summer? Not us... Working with a straight edge and a blade, he fashioned blocks that covered the concrete, then, taped every open edge of the giant "puzzle" together and sealed all adjoining edges with silicone.
The Hobo Room may eventually serve double duty as an isolation room when recording music; you never know when you might want to toss an amp in there and shut the door. To make the room more sound-proof, new walls were required. John framed the room with 2x4s and our buddy Electric Matt rewired the room, removed old and installed new outlets, can lights and smoke detector. After his visit, the shear walls were covered with unfaced insulation batts, and all the stud bays were filled with faced R-13 insulation.
Ready for drywall! To accomplish this task alone, John made use of his adjustable photo backdrop poles. They held the ceiling drywall in place while he attached it. Next came the walls, and taping/mudding. Pro tip: get one of these triangular sander pads. It made life so much easier - how did we live without it?
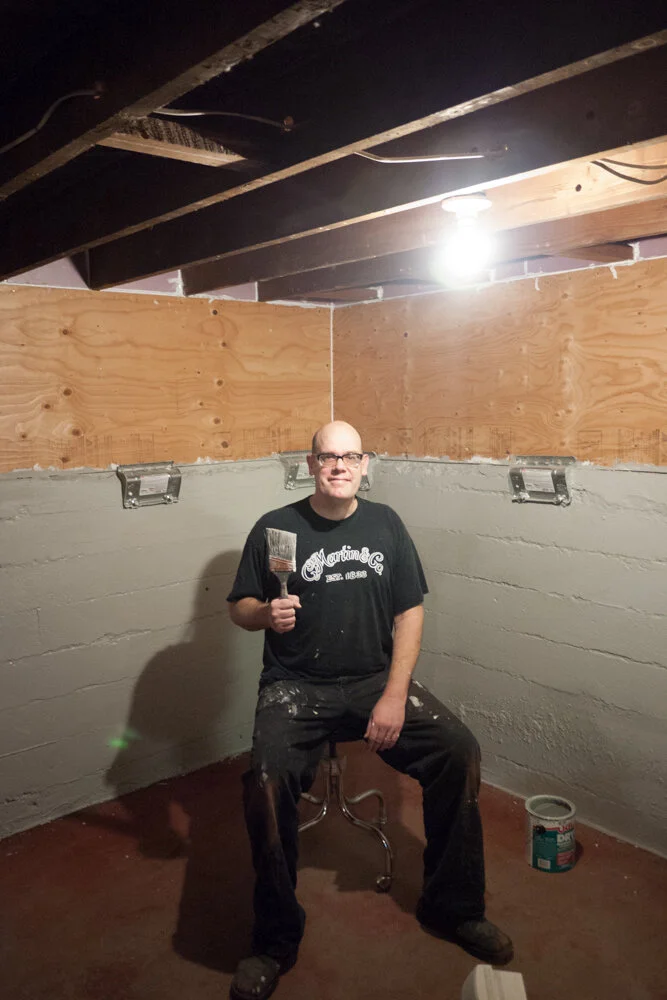
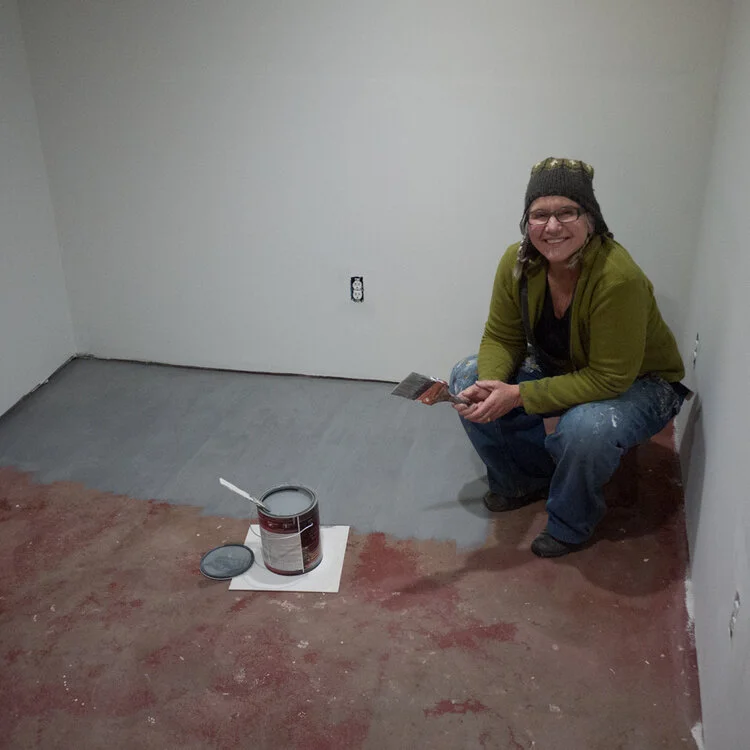
Once sanded, we applied two coats of thickened white, drywall primer. After scrubbing and sanding the floor, we applied two coats of Drylok Concrete Floor Paint. When the floor was dry, we applied trim, switch plates and outlet covers.
Now we have floor-to-ceiling storage on one side of the room, with room for large bulky items on the other side! It's a silent as a tomb down there. With these lessons learned, here comes the recording studio!